Embark on a rewarding build with the AMT 1966 Chevelle SS kit! Online forums, like Chevrolet Forum, offer invaluable support and guidance throughout the assembly process.
Model Kit Overview
The AMT 1966 Chevrolet Chevelle SS model kit is a classic, offering enthusiasts a detailed recreation of this iconic muscle car. Typically, these kits come with numerous plastic parts, requiring assembly through gluing and painting. Crucially, successful completion relies heavily on the provided PDF instructions – a digital roadmap for the build.
These instructions detail each step, from chassis construction to final detailing. Online communities, such as the Chevrolet Forum, frequently discuss the kit, sharing tips and troubleshooting advice. Accessing the PDF is the first step; understanding its diagrams and parts lists is paramount. Remember, patience and careful adherence to the instructions are key to achieving a stunning, accurate model of this automotive legend.
Significance of the 1966 Chevelle SS
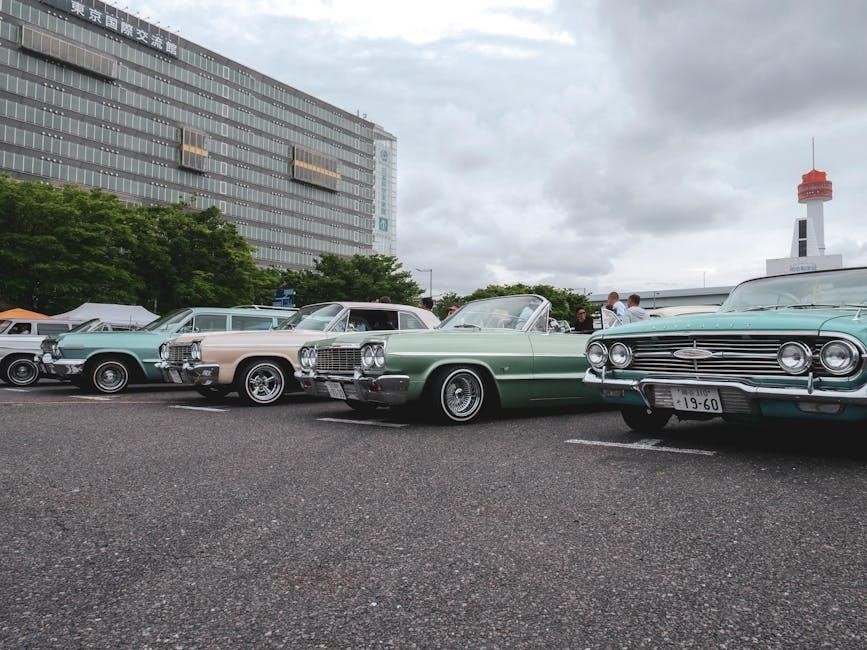
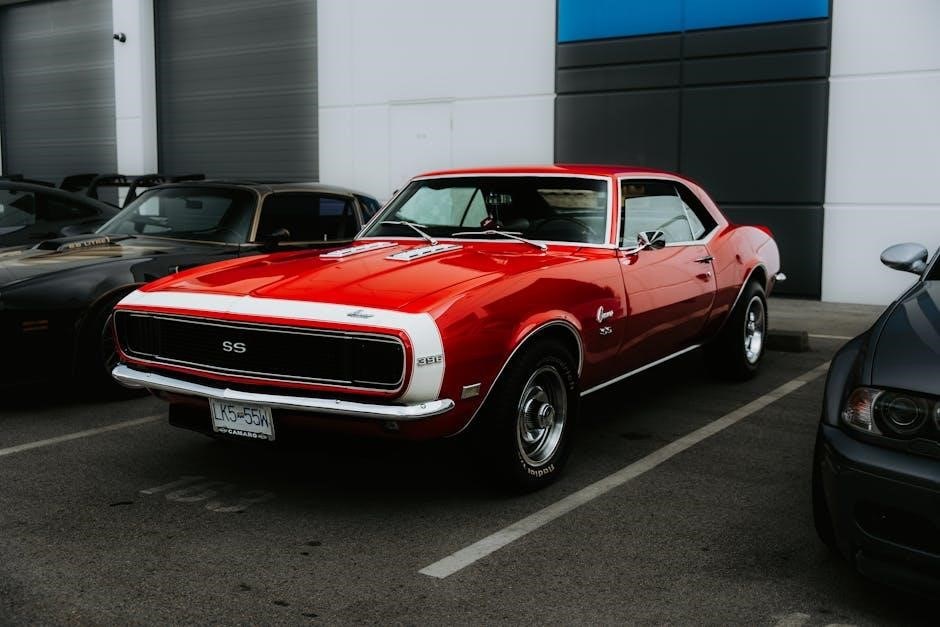
The 1966 Chevrolet Chevelle SS holds a revered place in automotive history as a quintessential muscle car, embodying power and style. Recreating this icon with the AMT model kit allows enthusiasts to connect with this legacy. The detailed PDF instructions are vital, mirroring the car’s complexity.
Understanding the Chevelle SS’s historical context enhances the building experience. Forums like Chevrolet Forum demonstrate enduring passion for this vehicle. The model isn’t just plastic; it’s a tribute to an era. Successfully following the PDF’s guidance results in a miniature representation of automotive excellence, a tangible piece of history brought to life.
Understanding the PDF Instructions
The AMT Chevelle SS PDF is your blueprint for success! Careful study of diagrams and parts lists, alongside community forums, ensures a smooth build.
Locating the PDF Instructions Online
Finding the official AMT 1966 Chevelle SS model kit instructions in PDF format often begins with a targeted online search. Many hobbyist websites and online model kit retailers archive these documents for easy access. A valuable resource is checking dedicated modeling forums, such as those found on Chevrolet Forum, where members frequently share links to instruction manuals.
Alternatively, directly visiting the Round 2 Corporation (AMT’s parent company) website is a good starting point. They may host downloadable PDFs for current and older kits. If direct download isn’t available, exploring online model kit databases and enthusiast communities can quickly yield results. Remember to verify the PDF corresponds to your specific kit’s issue number for accuracy.
Navigating the PDF Document
The AMT 1966 Chevelle SS instruction PDF is typically structured sequentially, mirroring the build process. Begin by familiarizing yourself with the parts list – a crucial step for inventory and organization. Most PDFs utilize exploded diagrams, visually illustrating component placement and assembly order. Utilize the PDF reader’s zoom function for detailed views of smaller parts and connections.
Pay close attention to part numbers referenced in each step, ensuring correct component usage. Many instructions include paint callouts and decal placement guides. Online forums, like Chevrolet Forum, can clarify ambiguous steps or offer alternative build approaches. Effective navigation involves cross-referencing diagrams with physical parts, promoting a smooth and accurate build.
Required Tools and Materials
Successfully assembling the 1966 Chevelle SS AMT model demands specific tools. Essential items include plastic cement for bonding parts, sprue cutters for clean part removal, and hobby knives for trimming excess plastic. Fine-grit sandpaper is vital for smoothing surfaces and removing mold lines. For painting, you’ll need acrylic or enamel paints, brushes, and potentially an airbrush.
Additional helpful tools encompass masking tape for clean paint lines, tweezers for handling small parts, and a pin vise for drilling. Decal setting solutions enhance decal adhesion and appearance. Referencing online communities, such as Chevrolet Forum, can reveal preferred brands and techniques. Proper preparation ensures a professional finish and enjoyable build experience.

Assembly Process ⎼ Body & Chassis
Begin with careful body shell preparation, followed by meticulous chassis assembly. Ensure proper alignment and secure bonding for a structurally sound and visually appealing foundation.
Preparing the Body Shell
Initial body shell preparation is crucial for a flawless finish. Carefully remove the parts from the sprue, utilizing sprue cutters to prevent stress marks. Gently wash the body in lukewarm, soapy water to eliminate mold release agents, ensuring optimal paint adhesion.
Dry thoroughly and inspect for any imperfections like sink marks or flash. Address these with appropriate model filler, allowing it to fully cure before sanding smooth with fine-grit sandpaper.
Prior to painting, a primer coat is highly recommended, providing a uniform surface and highlighting any remaining flaws. Lightly sand the primer coat for an exceptionally smooth base, ready for your chosen color scheme. Remember to consult the PDF instructions for specific color recommendations and detailing guidance.
Chassis Assembly
Begin chassis construction by meticulously following the PDF instructions’ diagrams. Start with the main chassis components, carefully gluing them together using plastic cement. Ensure proper alignment to guarantee a square and stable platform. Pay close attention to the suspension mounting points, verifying correct orientation before securing them.
The rear axle assembly requires precision; double-check the differential and axle shaft installation.
Refer to the instructions for brake caliper and exhaust system placement. Dry-fit components frequently to confirm fitment before applying cement. Online communities, like Chevrolet Forum, can offer valuable tips for overcoming any assembly challenges. A solid chassis is fundamental for a realistic and durable model.
Interior Detailing
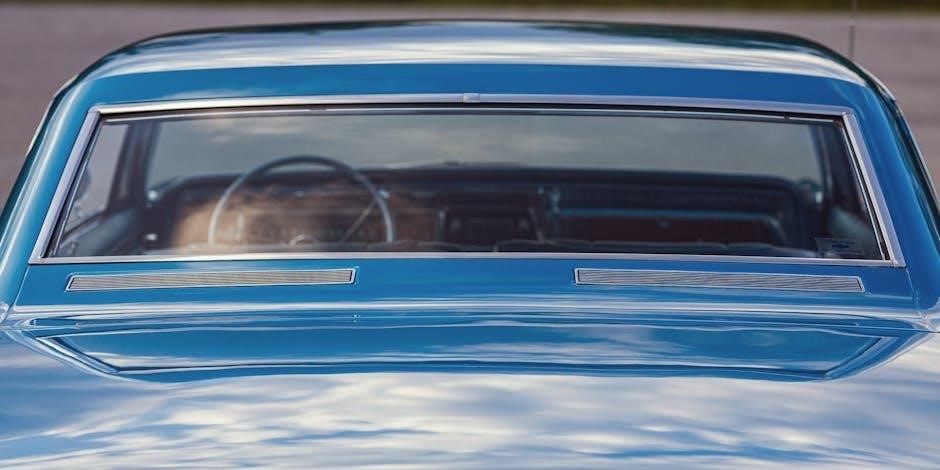
Elevate realism by meticulously detailing the 1966 Chevelle SS interior, guided by the PDF instructions. Begin with the dashboard, carefully applying decals and painting details like gauges and woodgrain. Assemble the seats, ensuring correct color schemes and proper alignment within the cabin.
The center console requires precise fitting of components; dry-fit before cementing.
Don’t overlook the steering wheel and column – these add significant visual appeal. Utilize reference photos for accurate detailing. Online forums, such as Chevrolet Forum, provide inspiration and solutions for challenging interior aspects. A well-detailed interior significantly enhances the overall model’s presentation and authenticity.
Engine and Drivetrain Assembly
Follow the PDF instructions closely to construct the Chevelle’s powerful engine and drivetrain, ensuring proper alignment and functionality for a realistic build.
Engine Block Construction
Begin with meticulous engine block assembly, referencing the PDF instructions for precise part placement and adhesive application. Carefully study diagrams detailing cylinder head attachment, ensuring proper sealing to prevent future issues. Pay close attention to valve cover installation, aligning them correctly for a factory-accurate appearance.
The instructions will guide you through crankshaft and piston rod assembly, emphasizing correct orientation. Don’t skip steps regarding oil pan attachment; a secure fit is crucial. Online communities, like those found on Chevrolet Forum, can offer clarification if the PDF instructions are unclear. Remember to dry-fit components before gluing to verify fitment and avoid errors. This foundational stage dictates the engine’s overall realism and functionality.
Transmission and Rear Axle
Following engine assembly, focus on the transmission and rear axle, consulting the PDF instructions for detailed guidance. The instructions will illustrate proper gear meshing and housing alignment, vital for smooth operation. Carefully attach the driveshaft, ensuring correct length and secure connection to the rear axle.
Pay attention to differential assembly, referencing diagrams for accurate component placement. Online forums, such as Chevrolet Forum, can provide troubleshooting tips if you encounter difficulties. Dry-fitting these components before applying glue is highly recommended. A properly assembled drivetrain is essential for a realistic and potentially functional model. Remember to check for any binding or resistance during assembly.
Exhaust System Installation
The PDF instructions detail exhaust system installation, a crucial step for visual accuracy. Begin by carefully studying the diagrams, noting pipe routing and muffler placement. Test-fit each exhaust component – manifolds, pipes, and muffler – before applying cement. Ensure proper alignment with the chassis and engine.
Pay close attention to any bends or angles specified in the instructions. Online communities, like Chevrolet Forum, can offer advice on achieving a realistic exhaust appearance. Consider using metallic paints to enhance the exhaust system’s visual appeal. A well-installed exhaust system significantly contributes to the model’s overall authenticity and detail.

Exterior Details and Finishing
The PDF guides chrome application, wheel mounting, and painting. Chevrolet forums provide expert advice on decal placement and achieving a flawless, realistic finish.
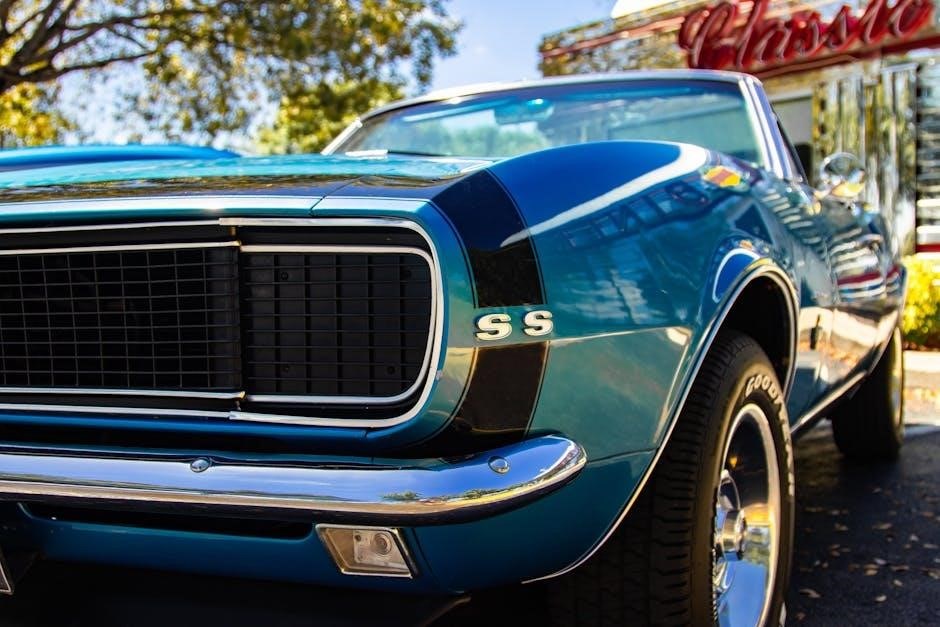
Chrome Parts Application
The AMT 1966 Chevelle SS model kit’s PDF instructions detail careful chrome parts application, crucial for a realistic appearance. Prior to attachment, gently wash the chrome sprues with mild dish soap and warm water to remove any mold release agents – this ensures better adhesion of the chrome finish. The instructions will illustrate specific locations for bumpers, trim, and emblems.
Pay close attention to the diagrams; incorrect placement detracts from the model’s authenticity. Utilize a small amount of model cement designed for plastic to chrome bonding. Avoid excessive glue, as it can cloud the chrome. Online Chevrolet enthusiast forums often share tips on polishing chrome parts for an even brighter shine and offer solutions for minor scratches or imperfections. Remember patience is key for a professional result!
Wheel and Tire Mounting
The 1966 Chevelle SS AMT model kit’s PDF instructions meticulously guide wheel and tire mounting, vital for achieving a correct stance. Begin by carefully removing the wheels and tires from their sprues, ensuring no plastic flashing remains. The instructions will specify the correct wheel orientation and tire direction, often indicated by tread patterns.
Apply a small amount of model cement to the axle stubs and gently press the wheels into place. Rotate the wheels to confirm they spin freely. Chevrolet forums frequently discuss achieving a realistic ride height; slight adjustments can be made during this stage. Be mindful of tire sidewall markings facing outwards. A properly mounted wheel and tire assembly significantly enhances the model’s overall visual appeal.
Decal Application and Painting
The AMT 1966 Chevelle SS model kit’s PDF instructions detail a precise painting and decaling sequence. Begin with a smooth, even base coat, allowing each layer to fully dry before applying subsequent coats. Chevrolet enthusiast forums emphasize the importance of thin coats to avoid runs and imperfections.
Decals require careful application; use decal setting solution to conform them to surface details. The instructions illustrate precise decal placement, crucial for accuracy. After decaling, a clear coat protects the decals and unifies the finish. Online resources often showcase custom paint schemes, but adhering to the kit’s instructions initially is recommended. Proper painting and decaling elevate the model’s realism.
Troubleshooting Common Issues
The PDF instructions, alongside Chevrolet forums, can help resolve fitment, paint, or decal problems encountered during the 1966 Chevelle SS build.
Parts Fitment Problems
Addressing parts fitment issues during the 1966 Chevelle SS AMT model build often requires careful review of the PDF instructions, paying close attention to part orientation and sequence. Online communities, such as the Chevrolet Forum, frequently discuss common fitment challenges with this kit, offering solutions from experienced modelers.
Sometimes, minor trimming or sanding of parts is necessary, but proceed cautiously to avoid damaging delicate components. Ensure proper alignment before applying cement, and dry-fit pieces repeatedly. If a part seems excessively tight, double-check that you’re using the correct piece and haven’t skipped a prior assembly step. Remember, patience and a methodical approach are key to overcoming these hurdles.
Paint Application Issues
Achieving a flawless paint finish on your 1966 Chevelle SS AMT model requires careful preparation and technique. The PDF instructions may not detail every nuance, so online forums like Chevrolet Forum can provide valuable tips. Thinning your paint appropriately is crucial – multiple thin coats are preferable to one thick coat, preventing runs and drips.
Ensure the model is thoroughly cleaned and primed before painting. Dust and debris are common culprits for imperfections. Consider using a tack cloth to remove any lingering particles. Proper ventilation is essential when working with paints and solvents. Allow each coat to dry completely before applying the next, and be mindful of humidity levels, which can affect drying time.
Decal Application Difficulties
Applying decals to your 1966 Chevelle SS AMT model can be tricky, even with the PDF instructions. Silvering – where air bubbles appear under the decal – is a common issue. Using a decal setting solution, available at hobby stores, helps conform the decal to surface details and eliminate air.
Carefully position the decal before it fully adheres, as repositioning can cause tearing. Gently blot away excess solution with a soft cloth. If a decal tears, online communities like Chevrolet Forum offer repair techniques. A gloss coat before decaling can provide a smoother surface, and a final clear coat seals and protects them. Patience is key!
Resources and Community Support
Connect with fellow builders! Chevrolet Forum and dedicated AMT model kit resources provide invaluable assistance, tips, and troubleshooting for your 1966 Chevelle SS.
Online Forums and Communities
Numerous online platforms cater to model building enthusiasts, offering a wealth of knowledge specifically for the 1966 Chevrolet Chevelle SS AMT kit. Chevrolet Forum, a vibrant community, provides dedicated sections for discussing Chevrolet vehicles, including model kits and restoration projects. These forums are invaluable for locating PDF instructions, sharing build tips, and troubleshooting common issues encountered during assembly.
Experienced modelers frequently share their expertise, offering guidance on paint application, decal placement, and parts fitment. Beyond Chevrolet Forum, specialized model kit communities exist, providing focused discussions and build logs. These resources often feature detailed photos and step-by-step instructions, supplementing the official AMT documentation. Engaging with these communities fosters a collaborative learning environment, accelerating your build process and enhancing the final result.
AMT Model Kit Resources
Beyond online forums, dedicated websites and resources specifically cater to AMT model kits, including the 1966 Chevrolet Chevelle SS. While direct links to PDF instructions can be elusive, these sites often host scanned copies of vintage instruction manuals or provide links to user-uploaded versions. Searching model kit databases and enthusiast websites can yield valuable results.
Furthermore, many hobby shops specializing in model kits maintain online catalogs and resource sections. These shops may offer downloadable instructions or provide contact information for obtaining replacements. Remember to exercise caution when downloading files from unofficial sources, ensuring they are free from malware. Utilizing these resources, alongside community support, significantly streamlines the build process and ensures a successful completion of your Chevelle SS model.