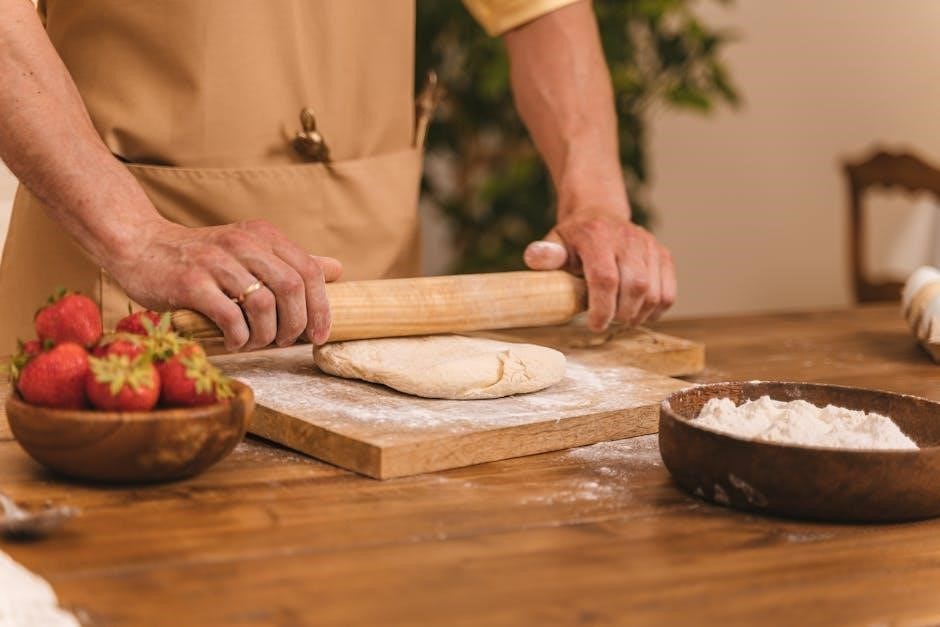
Regal Breadmaker Manual: A Comprehensive Guide
This manual provides detailed instructions for Regal breadmakers, covering models K6722, K6723, K6726, and K6727. Enjoy baking 1-2 pound loaves with ease!
Understanding Your Regal Breadmaker
Your Regal Breadmaker simplifies the baking process, offering convenience and consistent results. It’s designed to handle loaves weighing between one and two pounds, catering to various household sizes. Familiarizing yourself with its features is key to successful baking. Remember to note your specific model number – K6722, K6723, K6726, or K6727 – as recipes may vary. This appliance brings the joy of fresh, homemade bread right to your kitchen, making it a delightful addition for baking enthusiasts of all levels.
Model Numbers and Compatibility
This manual is specifically designed for Regal Breadmaker models K6722, K6723, K6726, and K6727. While parts like belts may be compatible across slightly different models, always verify before purchasing replacements. Searching online using “regal bread machine belts” yields numerous options. Ensure the replacement part fits your exact model number for optimal performance. Compatibility isn’t guaranteed for models outside this range, so referencing the correct manual is crucial for safe and effective operation.
Key Components and Parts Identification
Your Regal Breadmaker consists of several key parts. The baking pan holds ingredients during the baking process, while the kneading paddle mixes and develops the dough. Identifying your specific model number is vital, as components can vary. The control panel manages settings and cycles. Replacement paddles, like the K6771, are readily available online. Understanding each component’s function ensures proper operation and maintenance, extending the lifespan of your appliance and guaranteeing delicious results.
The Baking Pan
The baking pan is the heart of your Regal Breadmaker, designed to hold all ingredients during mixing, kneading, rising, and baking. It’s crucial for creating loaves ranging from one to two pounds. Ensure the pan is securely locked into place before operation. Regular cleaning is essential; remove any leftover residue after each use. Proper care extends the pan’s life and prevents sticking, guaranteeing perfectly formed loaves every time. Inspect for any damage before each baking cycle.
The Kneading Paddle
The kneading paddle is vital for developing gluten in your dough, ensuring a light and airy texture. This blade mixes and kneads ingredients thoroughly within the baking pan. A properly functioning paddle is essential for successful breadmaking. If the paddle isn’t kneading correctly, check its secure attachment. Replacement paddles are available if yours becomes damaged or worn. Always remove the paddle before baking to avoid it becoming embedded in the loaf.
Control Panel Overview
The Regal breadmaker’s control panel features buttons for selecting pre-programmed settings like Basic, Whole Wheat, and Sweet Bread. You’ll find controls for adjusting loaf size (1 or 2 pounds) and crust color (light, medium, dark). A start/stop button initiates and pauses the baking cycle. Digital displays show the current cycle stage and remaining baking time. Familiarize yourself with each button to customize your baking experience effectively.
Setting Up Your Regal Breadmaker
Before first use, thoroughly clean the baking pan and kneading paddle with warm, soapy water. Ensure they are completely dry before placing them back into the breadmaker. Position the appliance on a stable, level surface, away from water sources. Plug in the power cord and you’re ready for initial operation. Always refer to your specific model number for detailed setup instructions, as variations may exist.
Initial Setup and Cleaning
Upon unboxing, remove all packaging materials. Wash the baking pan and kneading paddle with warm, soapy water; a non-abrasive sponge is recommended. Dry components completely before reassembly. Wipe the exterior of the breadmaker with a damp cloth. This initial cleaning ensures a hygienic baking environment. Refer to your model’s specific instructions, as detailed in the guide, for any unique cleaning requirements before the first bake.
Powering On and Basic Functions
Plug the breadmaker into a grounded outlet. The power button initiates operation. Utilize the control panel to select desired settings – choose from pre-programmed options or customize your recipe. The start/stop button controls the baking cycle. Familiarize yourself with the timer function for delayed starts. Ensure the baking pan and paddle are correctly positioned before initiating any cycle. Refer to the manual for specific button functions related to your model.
Using Pre-Programmed Settings
Regal breadmakers offer convenient pre-programmed settings for various bread types. The Basic Bread setting is ideal for traditional loaves. Select Whole Wheat for denser, nutritious bread. For sweeter treats, utilize the Sweet Bread option, adjusting sugar levels accordingly. These settings automatically control kneading, rising, and baking times. Refer to your model’s manual for specific ingredient recommendations for each pre-set program. Experiment to find your perfect loaf!
Basic Bread Setting
The Basic Bread setting on your Regal breadmaker is perfect for everyday loaves. Typically, this cycle includes kneading, proofing, and baking, lasting around 3 hours. Use standard bread flour, water, yeast, salt, and a touch of sugar. Ingredient order is crucial – liquids first, then dry ingredients, with yeast last. This setting yields a classic, medium-crusted loaf. Adjust ingredient quantities based on your desired loaf size (1 or 2 pounds) for optimal results.
Whole Wheat Setting
The Whole Wheat setting on your Regal breadmaker is designed for denser loaves using whole wheat flour. This cycle often extends baking time due to the flour’s composition. It’s recommended to use a blend of whole wheat and bread flour for a lighter texture. Add a tablespoon of vital wheat gluten to improve rise. Ensure adequate liquid, as whole wheat absorbs more moisture. Expect a slightly coarser crumb and a nuttier flavor compared to white bread.
Sweet Bread Setting
The Sweet Bread setting on your Regal breadmaker is ideal for enriched doughs containing higher sugar and fat content. This cycle features a longer rise time to accommodate these ingredients. Recipes like brioche or cinnamon swirl bread benefit from this setting. Be mindful of ingredient quantities; excessive sugar can inhibit yeast activity. Reduce the amount of liquid slightly if using a lot of fruit or glaze. Monitor the loaf during baking to prevent over-browning.
Customizing Your Bread Recipes
Regal breadmakers offer flexibility! Adjust ingredient quantities carefully, considering the impact on dough consistency. More liquid creates a softer loaf, while extra flour results in a denser texture. When adding fruits, nuts, or seeds, do so during the signal beep to ensure even distribution. Avoid overfilling the pan, as the dough needs room to rise. Experiment with different flours and flavors, but always monitor the baking process closely for optimal results.
Adjusting Ingredient Quantities
Regal breadmaker recipes are a starting point; feel free to customize! Increasing liquid (water, milk) yields a softer crumb, but too much can cause collapse. Adding flour creates a denser loaf, ideal for whole grains. Sugar influences sweetness and browning, while salt controls yeast activity. Small adjustments are key – start with a tablespoon or two. Always observe dough consistency during kneading; it should be smooth and elastic, not too sticky or dry.
Adding Fruits, Nuts, and Seeds
Enhance your Regal bread with additions! Add fruits (raisins, cranberries), nuts (walnuts, pecans), or seeds (sunflower, flax) during the second kneading cycle, signaled by the breadmaker. This prevents them from sinking. Use approximately 1/2 to 1 cup per loaf, adjusting to your preference. Chopped ingredients distribute better. Be mindful of moisture content; dried fruits work best. Avoid overloading, as this can hinder rising. Experiment to discover your favorite combinations!

Troubleshooting Common Issues
Encountering problems? A paddle not kneading could indicate overload or incorrect placement. A collapsing loaf or failure to rise suggests insufficient yeast, improper ingredient ratios, or a power interruption. Check yeast freshness and measure accurately. Error messages require consulting the manual for specific codes. Ensure the breadmaker is on a stable surface and properly plugged in. Don’t open the lid during baking unless absolutely necessary, as this releases heat.
Paddle Not Kneading Properly
If the kneading paddle isn’t functioning, first ensure it’s securely attached to the drive shaft within the baking pan. Overloading the breadmaker with too much flour or a dense dough can strain the motor and hinder kneading; Verify the paddle isn’t obstructed by ingredients stuck underneath. A worn or damaged paddle may also cause issues; consider replacement. Finally, confirm the unit is receiving power consistently during the kneading cycle.
Loaf Collapsing or Not Rising
A collapsing or non-rising loaf often indicates insufficient yeast, expired yeast, or incorrect liquid measurements. Ensure precise ingredient quantities, especially yeast and liquids, are used. Excessive salt can also inhibit yeast activity. Check the room temperature; cold environments slow yeast activation. Avoid opening the breadmaker lid during baking, as this releases heat and can cause the loaf to fall; A weak gluten structure, due to insufficient kneading, may also contribute to this issue.
Error Messages and Codes
While specific error codes vary by model, common issues trigger alerts. A “Err 1” message might indicate a power interruption during the baking cycle, requiring a restart. “Err 2” could signal a faulty temperature sensor. If the display shows “Err 3”, the kneading motor may be overloaded or obstructed. Consult the full manual for your specific Regal model to decipher all codes. Always unplug the breadmaker before attempting any troubleshooting based on error messages.
Maintenance and Cleaning
Regular cleaning ensures optimal performance and longevity of your Regal breadmaker. After each use, remove the baking pan and kneading paddle for thorough washing with warm, soapy water. The exterior should be wiped down with a damp cloth; avoid abrasive cleaners. Ensure all parts are completely dry before reassembling. Periodic inspection of the heating element for crumbs is also recommended for consistent baking results.
Cleaning the Baking Pan and Paddle
After each baking cycle, promptly remove the baking pan and kneading paddle. Wash them in warm, soapy water, ensuring all dough residue is eliminated. For stubborn baked-on bits, soak them briefly before washing. Avoid using abrasive scouring pads, as they can damage the non-stick coating. Thoroughly dry both components before reinserting them into the breadmaker for future use, preserving optimal performance.
Exterior Cleaning
To maintain your Regal breadmaker’s appearance, wipe the exterior with a damp, soft cloth. Avoid using harsh chemicals or abrasive cleaners, as these can damage the finish. Never immerse the breadmaker base in water or any other liquid. Ensure the unit is unplugged before cleaning. Regular wiping will prevent buildup and keep your appliance looking its best for years of reliable baking enjoyment.
Replacing Parts
When replacement parts are needed, begin by searching online for “Regal bread machine belts” – numerous options are typically available. Even if your exact model isn’t listed, belts are often interchangeable. For other parts, identifying your specific model number is crucial for sourcing replacements. Explore online appliance parts retailers like Amazon, or contact Regal’s customer support for assistance in locating the correct components to keep your breadmaker functioning optimally.
Finding Replacement Belts
Locating a replacement belt for your Regal breadmaker is often straightforward. A simple Google search for “Regal bread machine belts” will reveal numerous suppliers and options. Don’t be discouraged if your precise model isn’t explicitly listed; belts frequently share compatibility across various Regal breadmaker models. Online retailers, such as Amazon, are excellent resources, offering a wide selection and convenient shipping for this essential part.

Sourcing Other Replacement Parts
Beyond belts, finding other Regal breadmaker replacement parts requires a bit more investigation. Online marketplaces like Amazon’s Small Appliance Parts section are a good starting point, offering components like kneading paddles. If you can’t locate a specific part online, consider contacting appliance repair shops in your area; they may have access to a wider network of suppliers. Detailed model numbers are crucial when searching, ensuring compatibility with your specific Regal breadmaker.
Safety Precautions
Always ensure the breadmaker is unplugged before cleaning or attempting any repairs. Never immerse the appliance base in water or other liquids. Allow the baking pan and kneading paddle to cool completely before handling. Keep the power cord away from hot surfaces. Do not operate the appliance with a damaged cord or plug. Supervise children when the breadmaker is in use, and keep them away from hot components.
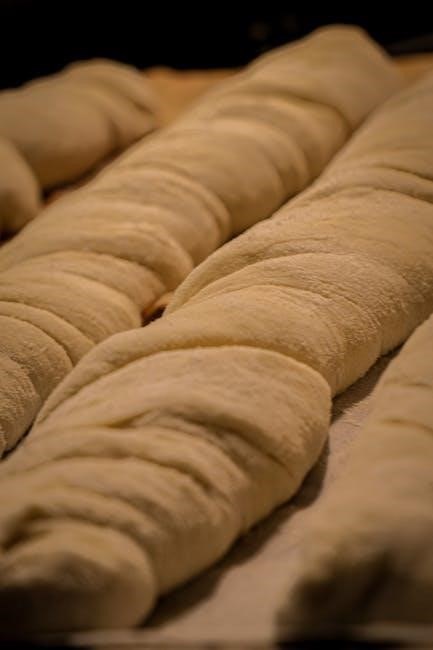
Recipe Ideas for Your Regal Breadmaker
Explore diverse baking options! Try a classic white bread using the basic setting, or venture into whole wheat loaves for added nutrition. Sweet bread settings are perfect for cinnamon raisin or banana nut bread. Experiment with adding fruits like cranberries or nuts like walnuts to customize your recipes. Don’t hesitate to try savory options, incorporating herbs and cheeses for unique flavors.
Frequently Asked Questions (FAQ)
Where can I find replacement belts? A quick Google search for “regal bread machine belts” yields numerous options. Belts are often interchangeable between slightly different models. What if my loaf collapses? Ensure proper ingredient measurements and yeast freshness. What do error codes mean? Consult the manual for specific code definitions. Where can I source parts? Amazon and specialized appliance parts retailers are good starting points.

Warranty Information
Regal breadmakers are warranted against defects in materials and workmanship for a period of one year from the date of original purchase. This warranty covers parts and labor for repairs or replacement, at Regal’s discretion. Damage due to misuse, accident, or unauthorized repair voids the warranty. Proof of purchase is required for all warranty claims. Contact Regal customer support for assistance with warranty service.